
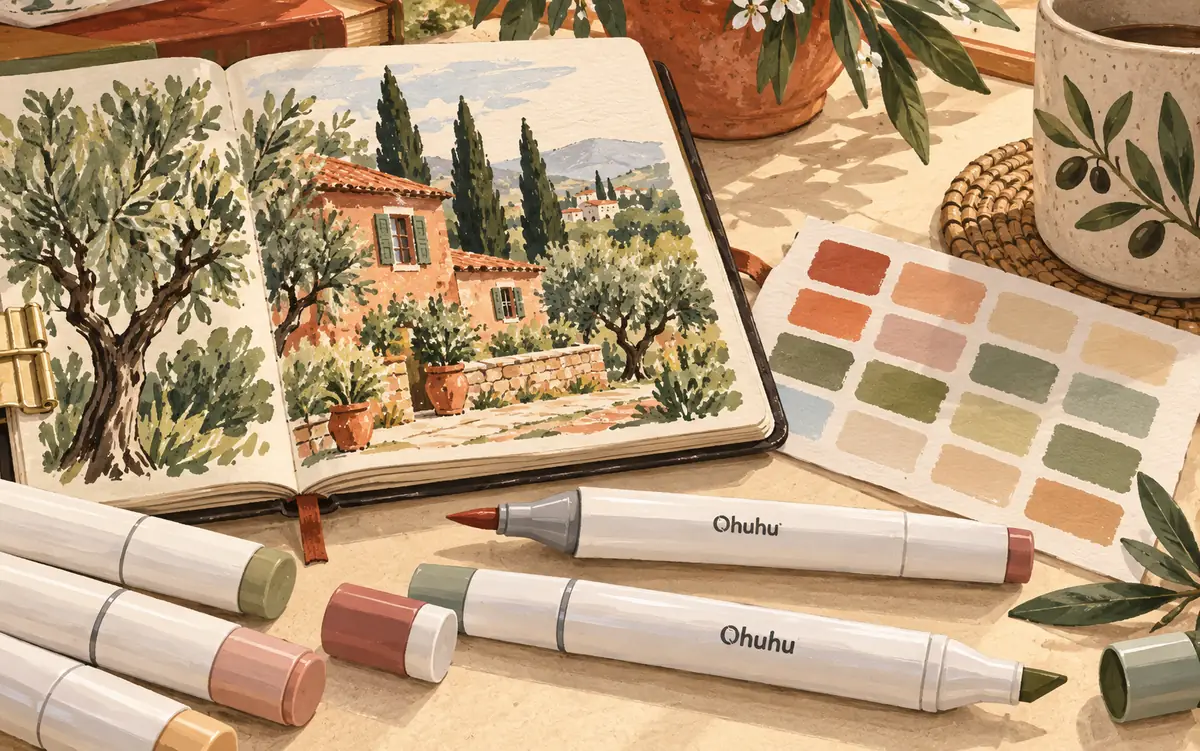
This review is for beginners, students, and hobbyists choosing an Ohuhu art marker set. I compare dual tips, paper needs, refill support, and Copic markers to help you choose colors and tools that fit your work.
A large marker set is easy to want. Rows of pale pink, moss green, and soft gray make a blank page feel full of plans. But the number on the box tells you less than the tips, the color range, and the paper you use.
My pick from Ohuhu is the Honolulu² 120-color set with a brush tip. It offers room to build color blends without making a huge set the starting point. I would choose the second tip by the work: chisel for broad fills, fine for small spaces.
Ohuhu Honolulu² art markers use highly pigmented alcohol-based ink. They suit smooth color on paper, and they can bleed through it. If you want paint that covers a dark surface, that is a different job. Here is where the Honolulu² set makes sense, what I would check before buying, and how to get more from the colors you choose.
Ohuhu art markers at a glance
| What matters | Honolulu² 120-color set |
|---|---|
| Ink | Alcohol-based color |
| Tips | Brush and chisel, or brush and fine |
| Box contents | 120 colors plus one colorless blender |
| Best fit | Coloring, drawing, and smooth blends on suitable paper |
| Main limit | Ink can bleed through the sheet |
| First buying check | Exact tip pair and colors in the selected set |
The Honolulu² product page lists both tip pairs. Ohuhu says the updated barrel has a new grip while the ink and core performance remain the same. I would treat that as a shape change, not a reason to replace a set that already works for you.
For me, high-quality ink needs to do more than look bright. I want related shades that blend, clear color codes, and a way to replace favorite colors. Ohuhu markers balance a broad color range with a lower starting cost than Copic markers. Professional artists may put more weight on long-term refill stock and exact color matches.
What makes Ohuhu markers useful for beginners?
I would put Ohuhu markers on the list for someone who likes to color often, draw small scenes, or shade simple forms. A brush nib can make both a thin line and a broad stroke. That gives one pen more range than a firm point alone.
These art markers also suit people who enjoy ready-mixed colors. With paint, you can make a new green on the palette. With markers, you usually choose a green that is already in the box, then layer it with other shades.
That difference can be freeing. It can also get costly if the answer to every tricky mix is another set. I would buy the colors for a few real projects and learn them before adding more.
A good fit for small scenes and coloring
Think of a page with leaves, a small house, and a pale sky. A few greens can add depth to the leaves. Warm grays can shade the house. A light blue can leave room for darker color later.
You do not need every shade to make that page work. You need colors with clear steps from light to dark. That is why I care about the spread within each color family more than the total count.
A weaker fit for dark craft surfaces
Alcohol ink is not a thick coat of paint. A pale pen will not behave like white paint over black card. If that is the look you want, read our POSCA markers review for opaque painted marks.
I would also pause before buying alcohol markers for a book printed on both sides. Bleed-through can spoil the next drawing. A protective sheet behind the page saves the pages below, but it cannot save the back of the sheet you are coloring.
Brush and chisel, or brush and fine?
The soft, flexible brush tip is the main reason I would choose this range. The second tip is the choice that needs more thought. Neither pair wins every task.
Brush and chisel for broader color
A chisel nib has a broad, slanted face. Lay that face down to cover a larger patch. Turn it to use the narrow edge for a smaller mark. It takes some practice to keep the angle steady.
I would choose this pair for larger coloring shapes, simple backgrounds, and bold blocks of color. The chisel can cover more paper in fewer strokes. That can help you keep an area wet while you work.
It is less forgiving in a tiny corner. A broad edge can cross the line before you notice. Keep a spare card nearby so you can check the angle before moving onto the drawing.
Brush and fine for small spaces
A fine nib suits narrow gaps, small patterns, and controlled edges. I would choose it if most of the page is made of little shapes. It can feel familiar to anyone used to a firm drawing pen.
The trade-off is speed. A fine point is slow on a large fill. If you keep going over a half-dry patch, the strokes may show. Use the brush for the open space and save the fine tip for the edge.
Let the brush do more than outlines.
A light touch gives a thin stroke. More of the side gives a wider mark. Try both on scrap paper before judging the pen. A brush nib should not need a hard push to leave color.
I would practice a row of leaves: start thin, press a little, then lift. Next, make a row of small circles using the side of the nib. These simple marks help you learn control without risking a finished piece.
Choosing an art marker set: how many colors are enough?
The 120-color set is my balanced choice for someone who expects to keep using markers. It gives a broad range while leaving a clear reason to buy: more useful steps between shades.
A smaller set of art markers can still be the right first purchase. If you are not sure you like alcohol ink, start with a set that fits the budget and the project. Paying less to learn your taste is sensible.
Buy color families, not a big number
For plants, look for light, mid, and dark greens with a few yellow and brown choices. For faces, check the actual skin-tone range. For buildings, look for useful grays and muted colors. Bright primary colors alone will not fill every need.
Also check how many near-matches you get. Two colors that look alike on the cap may dry far apart on paper. Two that look different on screen may turn out close. The color chart is a better starting point than the box photo.
Watch for overlap when you add a set
A second box may repeat colors you own. That is fine if you need spares, but it is poor value if the goal is a wider palette. Compare the color codes before you pay.
Ohuhu has changed its color code system. Use the brand's color code index to match old and new codes. Keep the code with your swatch so you can find the same shade later.
I would keep a simple list on the inside of the case: colors owned, colors used most, and gaps that show up in real drawings. That list can stop a sale price from turning into a box of duplicates.
Paper is part of the purchase
A marker can only work with the surface under it. Rough paper may make the tip feel less smooth. Very absorbent paper can drink ink fast. Thin paper can let color pass straight through.
I would begin with smooth paper made for alcohol markers, then test the exact sheet. “Marker paper” is a broad label, and papers vary in thickness and coating. Do not assume every pad will act the same way.
Protect the next page
Place a suitable barrier sheet behind the page you are using. Check that it covers the whole drawing area. Move it when you turn the page.
That step matters even on paper that feels thick. More ink can mean more bleed, especially where several colors meet. Check the back after a test patch before you start a long drawing.
Try the line art too
A black outline can smear if it does not work well with alcohol ink. Let the line dry fully, then test a small stroke across it. Use the same pen, paper, and marker you plan to use in the final work.
A clean test saves you from finding out too late that the outline moves. If the black line bleeds into a pale yellow area, even a good marker blend will look muddy.
Cut a stack of small test cards
You can learn a lot on a piece of paper the size of a bookmark. Keep a few near the case. Test a new color, a blend, or a line pen there first.
Our paper cutter guide covers small tools for that job. Use a cutter rated for the paper, and keep all ink and paint dry before you trim.
How to plan a smoother blend
Alcohol markers blend best when the colors and the paper give you room to work. Start with two or three related shades. A pale green, a middle green, and a dark green are easier to manage than two colors at opposite ends of the box.
Make a small shape. Lay down the light color, add the darker shade where you want depth, and use the light color again near the join. Work gently while the area is still wet.
The aim is a soft change in tone, not endless rubbing. Too many passes can soak the paper. If the surface starts to look tired or the ink spreads past the edge, stop and let it dry.
Keep the lightest area light.
It is easy to make a marker drawing darker. It is much harder to bring back clean white paper. Leave a small bright area where you want shine or light.
For a round fruit, that might be a white spot near the top. For a window, it might be a thin strip. Plan those spaces before the first broad stroke.
Add texture with small marks
Smooth blends are only one use for these art markers. You can add texture with dots, short lines, and small dry strokes. Try pale dots for a sandy path, thin lines for wood grain, or loose marks for a wool sweater. Let the base color dry before you add the small marks.
Use the fine tip for precise details and the brush tip for marks that change width. These exercises build drawing skills with colors you already own. For experienced artists, the same simple marks can give a flat shape more depth without another pen.
Use a swatch to judge the dry color
Wet ink and dry ink can look different. Let the sample settle before picking the next shade. Check it in the same light as the rest of your work.
I would make the swatch on the paper I use most. A color chart on a different sheet is still helpful, but it is not a perfect match for every surface.
The colorless blender is not an eraser
The extra colorless pen is useful, but its name can raise the wrong hope. It can move or lighten some ink and help with certain effects. It does not lift every mistake back to clean paper.
Try it on a spare swatch before using it near an edge. A wet blender can push color outward. For a tiny error, doing less may leave a neater result than flooding the spot.
What other users notice
In this discussion about a first Ohuhu set, buyers weigh small starter sets against larger color ranges. That is the right question: how much room do you need to learn without paying for colors you will not use?
Reviews on the Honolulu² product page include praise for the colors and blending. They also include a report of a missing color and a duplicate, plus concern about bleed-through. Those are individual reports, but they suggest two useful checks when a set arrives.
First, compare the pens against the included color list. Second, make a quick swatch of each one. You can catch a missing shade or a dry nib while the order details are easy to find.
I would keep the packaging until that check is done. If something is wrong, send the seller a clear photo of the issue and the order number. A short, exact description is more useful than trying to fix a new pen yourself.
Caring for Ohuhu art markers and refills
Ohuhu does sell alcohol ink refills. Its current refill range lists 101 colors, so older advice that there are no refills, or only 51, is out of date. That still does not mean every marker color has a matching refill.
Refillable Ohuhu markers and replacement nibs can extend the life of a set. Match the exact color codes and series before buying. A refill bottle may list several codes for the same ink across different Ohuhu ranges. Use those matches, rather than guessing from the color name.
Cap these art markers firmly after use. A loose cap can let a nib dry. Keep the pens away from heat and direct sun, and follow Ohuhu's care and refill guidance for the exact range.
Refill support is worth checking before you buy a big set. Do not assume every color and every Ohuhu line has the same refill choice. Match the range and the color code to the refill listing.
Can you turn a worn brush nib around?
Ohuhu Honolulu brush nibs are reversible. Both ends of the brush nib can be used, so a worn point need not end the life of the marker. Follow the maker's steps for your model and use the right tool to avoid crushing the nib.
Ohuhu also sells replacement brush nibs for Honolulu and Honolulu B. Check that the pack matches your art markers before you buy. This does not mean every fine or chisel nib can be swapped for a brush. I would check the model first, then compare the cost of repair with a single replacement pen.
Think about the colors that will run out first
A pale gray may get used on every page. A bright purple may sit in the case for months. The true cost of the set includes how you replace the colors you use most.
I would check those common shades first. A lower price per pen means less if a favorite color is hard to replace. Singles, compatible refills, and replacement tips can each matter, but the exact model needs to match.
Keep swatches with your art markers
A labeled swatch sheet makes choosing colors faster. Put the color codes next to each swatch. Leave room to read them, and keep the sheet out of strong light.
If you use more than one paper, make a second sheet. The same ink can look different on a warm cream page and a bright white one. That small habit can make a familiar set feel easier to use.
Ohuhu alcohol ink dries quickly, which helps keep a finished mark from smudging once dry. That does not mean wet ink cannot move. Keep your hand clear of fresh color, and test any line pen you use underneath it.
Before you pay for an Ohuhu set
Check the full range name, color count, and tip pair on the selected listing. Photos may show several versions. The option in the cart is the one that matters.
Compare the total price with shipping and tax. Check the delivery region too. A local warehouse and clear return terms can matter more than a small saving from a seller you do not know.
Make room in the budget for suitable paper. I would rather have a smaller color range on a good sheet than a huge set on paper that fights every stroke.
A few last questions
Are Ohuhu markers good for beginners?
They can be a good fit if you want to learn alcohol-marker coloring. Start with small shapes and a few related colors. Learn the paper and tips before trying a large, smooth background.
Will they bleed through a coloring book?
They can. Test the page and use a barrier behind it. A book with one drawing per sheet gives you more room for error than one printed on both sides.
Can I mix them like paint?
You can layer and blend the ink on paper, but that is different from mixing a new puddle of paint. If you want to make each shade on a palette, our gouache paint guide may fit that style better.
Should I replace older Honolulu markers?
I would not replace a working set just for the new barrel. Check the grip, tip pair, color codes, and refill needs. A new set should solve a real problem in your work.
Color-coded caps help, but swatches do more
Ohuhu markers have color-coded caps, so you can find a rough color family at a glance. A green cap gets you to the green pens. The color codes get you to the exact pen. The swatch tells you how that ink looks on your paper.
I would use all three. Color-coded caps are useful when the case is full, but the plastic is not a dried ink sample. Check a pale gray or skin tone on a spare sheet before you use it in your art.
Give each color a place
Put related Ohuhu markers near each other in the carrying case you use. Keep the colorless blender apart from the pale colors. Then put the color swatch cards where you can reach them without moving the whole marker set.
You do not need to sort by every color code in number order. I would group the Ohuhu art marker set by the way I reach for the colors: greens, blues, warm colors, grays, and skin tones. Within each group, light-to-dark order makes blending pairs easier to find.
When a cap comes off, leave it beside that marker. Swapped color-coded caps can turn a neat color system into a guessing game. Check the printed color codes on the pen too if something looks wrong.
When Ohuhu alcohol markers leave a rough patch
Uneven coloring in a large shape
Uneven coloring often shows up where fresh ink meets an area that has started to dry. Work in smaller sections and keep the next stroke close to the last. A wide chisel tip can help you quickly color a broad patch without dozens of narrow lines.
Do not keep flooding the sheet to chase a perfect finish. Alcohol-based ink can spread beyond the shape as the paper gets wetter. Let the page dry, then decide whether one light pass will help. Ohuhu markers still need the right paper and a steady pace.
A tip that drags
Try the Ohuhu marker on smooth scrap paper. Check whether both caps were closed, whether the nib is damaged, and whether the pen may be low on ink. Do not press harder to force color out of a brush nib.
If only one new pen has a problem, keep its color code and order details. If all the art markers feel rough on one pad, the paper may be the first thing to change. Change one part of the setup at a time so you can tell what helped.
Check the ink before you add more art markers
Ohuhu sells both alcohol-based and water-based markers. A shared brand name does not mean the pens blend the same way. This review is about Ohuhu alcohol markers in the Honolulu² range.
Alcohol-based ink suits the soft blends described here. Water-based ink has a different solvent, so a wet brush or repeated stroke may act differently. Read the range name and the ink type before you combine art markers in one project.
I would also check the tips again. Dual tips means two working ends, but it does not promise a brush. If the brush nib is why you want Ohuhu markers, make sure that exact option is in the cart.
Honolulu, Oahu, and Kaala: look at the tips first
You can choose from compact 24-color Ohuhu sets up to 320-color sets. The tip pair and color selection change by range. A small Kaala set and a large Oahu set solve different needs, even though both have dual tips.
Ohuhu's place names can make the range feel hard to follow. Honolulu is my choice for a brush nib. The Oahu series pairs a fine tip with a wide chisel tip. Kaala pairs a fine point with a slimmer broad tip.
| Ohuhu range | What to know |
|---|---|
| Honolulu² | Brush with chisel or fine. My pick for flexible strokes and blending. |
| Oahu | Fine and chisel. The largest set has 320 colors plus a blender. |
| Kaala | Fine and slim broad. Check the chosen set's colors and regional stock. |
The Ohuhu Oahu 320-color set makes sense if you already like firm points and want a wide color selection. Its dual tips cover fine details and large areas. The free carrying case is included. I would not choose 320 colors just to get more pens if the missing brush tip would frustrate me.
The Ohuhu Kaala range offers another way to make broad marks. Its slim broad tip is longer and thinner than a standard chisel. That changes the feel of the stroke. It is still worth checking the full tip description: a slim broad nib is not the same thing as Honolulu's brush.
For manga, anime, and other character art, I would favor the brush. It can vary a stroke from thin to thick as you change pressure. The same control helps with hand lettering. Use the fine end for small details if that is the second tip you chose.
Ohuhu or Copic markers?
Ohuhu markers are the lower-cost route I would consider for a large first color set. Copic markers in the Sketch range are the more costly choice, with a stronger case for someone who needs a broad refill system. That difference matters to students and hobbyists who want room to learn without a large first bill.
Copic Sketch has an oval barrel, a brush and broad nib, and 358 colors. Copic lists refills for all 358 colors in its system. Ohuhu's refill range is smaller, even though it has grown. For a color you use every day, check refill stock before comparing the price of a whole set.
Copic markers also offer very pale blending shades and several gray families. I would compare the exact swatches if subtle light tones are central to your art. A bigger color count by itself does not prove that either brand has the best shades for your project.
For casual coloring, I would start with the Ohuhu set and suitable paper. For regular paid illustration, I would put more weight on replacement nibs, refill coverage, and colors I could buy again. Neither choice replaces the work of learning the pens.
Are Ohuhu Honolulu² markers worth it?
For regular coloring and paper drawing, the Honolulu² 120-color set is a sensible place to start. The brush tip is useful, the second tip lets you match the set to your work, and the color range leaves room to grow.
My advice is simple: choose the tips first, buy suitable paper, and swatch the set. Then give the colors time to earn their place. The best marker set is one you know well enough to use.
Keep making.
For opaque color on dark paper, read our POSCA paint marker review.